If you’ve ever thought about installing a ceiling, whether you’re a homeowner in Bangkok, an architect, or someone running a restaurant or hotel, you know it’s not as easy as it looks. There are a bunch of ceiling installation mistakes people make, and trust me, they can turn a simple project into a real headache. From picking the wrong tools to forgetting about humidity (which is a big deal in Thailand), these slip-ups can cost time, money, and sometimes even safety. Let’s walk through the most common issues people run into and how you can steer clear of them, especially if you want your stretch ceiling to look sharp and last for years.
Understanding Common Ceiling Installation Mistakes
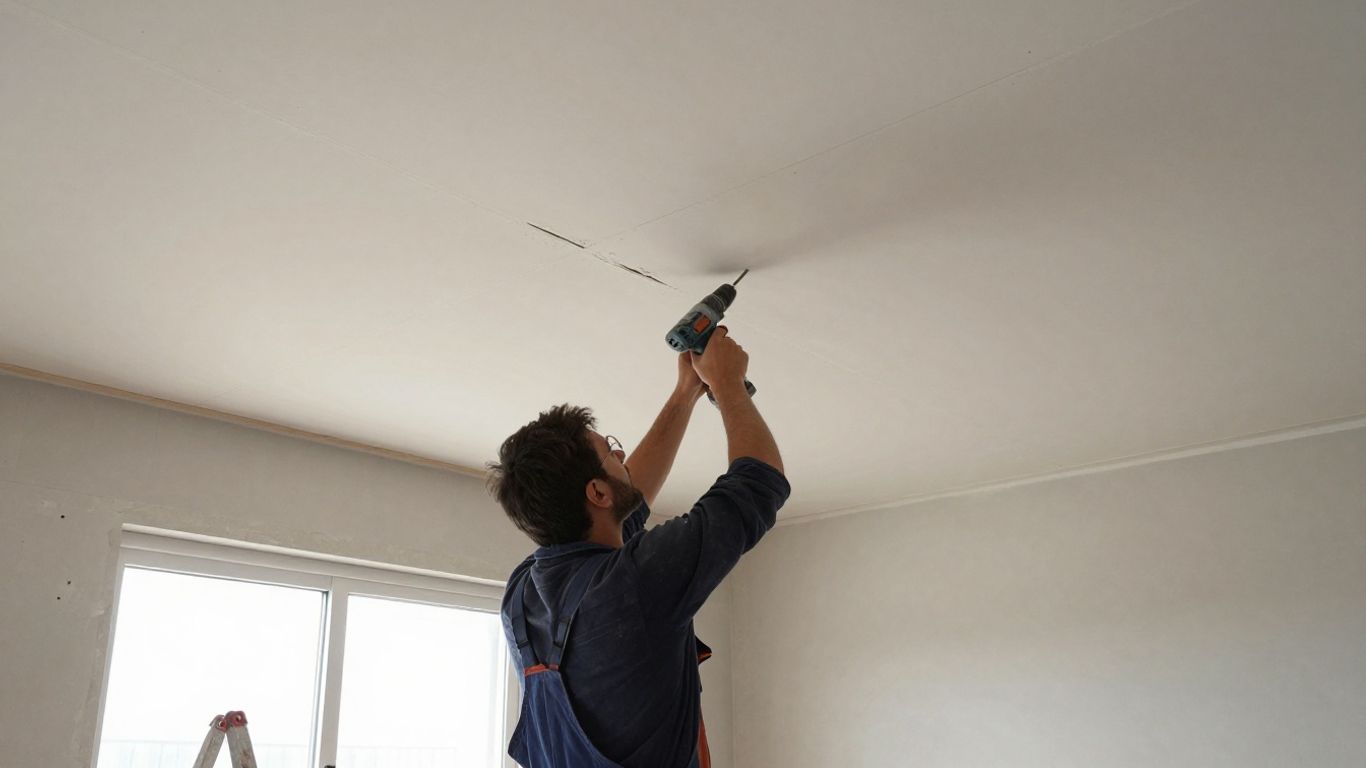
Putting up a new ceiling seems straightforward, but there are a few common slip-ups that can cause headaches later on. Getting these right from the start saves a lot of trouble.
Ignoring Substrate Preparation
Before you even think about putting up the new ceiling material, you need to make sure the surface you’re attaching it to is ready. This means checking the existing ceiling or the framing underneath.
- Check for structural integrity: Make sure the joists or beams are solid and not damaged. If they’re weak, the new ceiling won’t be supported properly.
- Clean the area: Dust, debris, or old paint can prevent new materials from sticking well or cause an uneven finish.
- Address moisture issues: Any leaks or dampness need to be fixed before installation. Moisture can damage the new ceiling and lead to mold.
Skipping these steps is like building a house on a shaky foundation. It might look okay for a bit, but problems will eventually show up.
Improper Framing and Support
This is about making sure the structure holding up your ceiling is strong and correctly installed. The framing is what everything else attaches to.
- Spacing: Joists or furring strips need to be spaced correctly according to the type of ceiling material you’re using. Too much space means sagging.
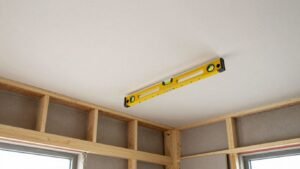
- Leveling: The frame must be perfectly level. If it’s not, your ceiling won’t be flat, and it will be obvious.
- Secure attachment: The frame itself needs to be securely fastened to the main structure of the building. Loose framing is a recipe for disaster.
Good framing means a stable, flat ceiling that will last. Bad framing means a ceiling that might sag, crack, or even fail over time.
Overlooking Ventilation and Airflow
This might not seem like a big deal for a ceiling, but it’s important, especially in certain areas like attics or above suspended ceilings.
- Prevent moisture buildup: Proper airflow helps prevent condensation, which can lead to mold and rot in the structure above.
- Temperature control: Good ventilation can help regulate temperature, keeping the space below more comfortable.
- Electrical safety: If you have lighting or other electrical components in the ceiling space, airflow helps dissipate heat, which is important for safety and the lifespan of the components.
Think of it like breathing for your ceiling space. Without it, things can get stuffy and problematic.
Addressing Material Handling and Storage Errors
It’s easy to mess things up before you even start installing. How you handle and store your ceiling materials makes a big difference. If you’re not careful, you can end up with damaged goods that look bad or just don’t work right.
Damaging Materials Before Installation
Ceiling materials, especially the membranes, can be delicate. They often come in sealed boxes. Always handle these boxes with care. Sharp objects can easily puncture or tear the material. Even just dropping a box can cause unseen damage that shows up later.
- Keep sharp tools away from the materials during transport and unpacking.
- Avoid stacking heavy items on top of the ceiling material boxes.
- Inspect materials for any damage as soon as they arrive.
Inadequate Storage Conditions
Where you store your materials matters. Extreme temperatures or moisture can ruin them. For example, if the material gets too cold, it might become brittle. If it gets too hot, it could warp or lose its shape. Always store materials in a dry, climate-controlled space.
- Temperature: Most materials need to be stored between 50°F and 80°F (10°C and 27°C).
- Moisture: Keep materials away from damp areas. High humidity can cause some materials to degrade.
- Protection: Store materials flat and protected from dust and direct sunlight.
If your materials have been exposed to freezing temperatures, let them warm up slowly for at least 24 hours before opening the boxes. This helps prevent cracking.
Using Incorrect Tools for Handling
Using the wrong tools can damage the materials. For instance, trying to move a large, heavy ceiling panel with just your hands might lead to dropping it. Or using a tool with rough edges could scratch the surface.
- Lifting: Use appropriate lifting equipment or get enough people to help move large or heavy materials safely.
- Unpacking: Use tools that won’t cut too deep when opening boxes, like a box cutter with a shallow blade setting.
- Transport: Ensure materials are secured properly during transport within the site to prevent them from shifting or falling.
Avoiding Errors in Measurement and Cutting
Getting measurements and cuts right matters more than almost anything else in a ceiling install. Mess up here, and you’ll have gaps, uneven lines, or materials that just don’t fit. It’s a common place for mistakes to happen, even for experienced folks.
Inaccurate Room Measurements
This is probably the most basic, but it happens. You measure a room, but you miss a corner, or the tape measure isn’t straight. Or maybe the room isn’t perfectly square. Always double-check your measurements. Measure twice, cut once, as they say. It’s better to spend a little extra time getting it right than to waste material.
- Measure each wall length.
- Measure diagonals to check for squareness.
- Note down any irregularities like columns or curved walls.
Incorrect Material Cutting Techniques
Even with perfect measurements, how you cut the material matters. Different ceiling types need different cutting methods. Using the wrong tool or technique can lead to rough edges or damage that shows later. For example, a dull blade can snag and tear a flexible membrane, while a saw might chip a more rigid panel.
- Use sharp tools specifically designed for the material.
- Cut on a flat, stable surface.
- Follow the manufacturer’s guidelines for cutting.
Failing to Account for Obstructions
Rooms aren’t just empty boxes. You’ve got lights, vents, pipes, and maybe even old beams sticking down. You need to measure around these things. If you don’t plan for them, you’ll end up with a cut-out that’s too small, too big, or in the wrong place. This can mean re-cutting or having an awkward-looking finish.
Preventing Issues with Fastening and Attachment
Fasteners make or break whether a ceiling stays put and looks good. Mess this up, and you’ll be dealing with sagging or even falling panels.
Insecure Fastener Selection
Choosing the wrong screws, clips, or anchors is a common mistake. You need fasteners that are strong enough for the ceiling material and the framing. Using drywall screws on a metal frame, for example, won’t hold well. Always check what the ceiling manufacturer recommends. They usually specify the type and size of fasteners needed. For instance, some systems might need special clips that lock into place, while others use screws directly into wood or metal studs. Using the correct fasteners ensures the ceiling’s integrity and longevity.
Over-Tightening or Under-Tightening Fasteners
This is a delicate balance. If you tighten fasteners too much, you can strip the screw hole, crack the ceiling material, or even damage the framing. This weakens the attachment point. On the other hand, under-tightening means the fastener isn’t holding the panel securely. This can lead to movement, rattling, or sagging over time. It’s best to follow manufacturer guidelines for torque settings if available, or tighten until snug but not forced. A good rule of thumb is to stop when you feel resistance, then give it just a little more turn.
Improper Placement of Fixings
Where you put your fasteners matters just as much as what you use and how tight they are. Fasteners need to be placed at specific intervals, usually along the edges of panels or at designated support points. Placing them too far apart can cause the ceiling material to sag between fixings. Placing them too close can weaken the material. Always refer to the installation manual for the correct spacing. For example, a typical pattern might involve placing fasteners every 6 to 8 inches along the perimeter of a panel and every 12 to 16 inches in the field. This even distribution supports the weight and keeps the surface flat. You can find more details on ceiling installation practices to help avoid these issues.
Navigating Lighting and Electrical Integration Pitfalls
Lighting and electrical planning deserve real attention when you’re putting up a new ceiling. It’s easy to get wrong if you’re not careful.
Incorrect Wiring Practices
Bad wiring is a big no-no. It can cause fires or just not work right. Always make sure your wiring is up to code. Use the right gauge wire for the job. If you’re not sure, get a qualified electrician to do it. Don’t try to cut corners on electrical work. It’s just not worth the risk.
Ignoring Heat Dissipation for Fixtures
Some lights, especially older halogen bulbs, get really hot. If you put them too close to the ceiling material, they can damage it. You need to make sure there’s enough space for the heat to escape. Some systems recommend using special insulating rings around spotlights if they get hotter than 50°C. Also, keep the wattage of your spotlights reasonable, usually under 50W. Check the specs for your specific ceiling material and light fixtures.
Poor Planning of Light Placement
Think about where you want your lights before you install the ceiling. Do you want bright task lighting in the kitchen? Or softer, mood lighting in the living room? Planning this out helps you figure out how many lights you need and where to put them. Some companies can even help you create 3D plans to see how it will look. This helps avoid dark spots or glare later on. You can get detailed plans for lighting integration to make sure everything is just right.
Mitigating Problems with Environmental Conditions
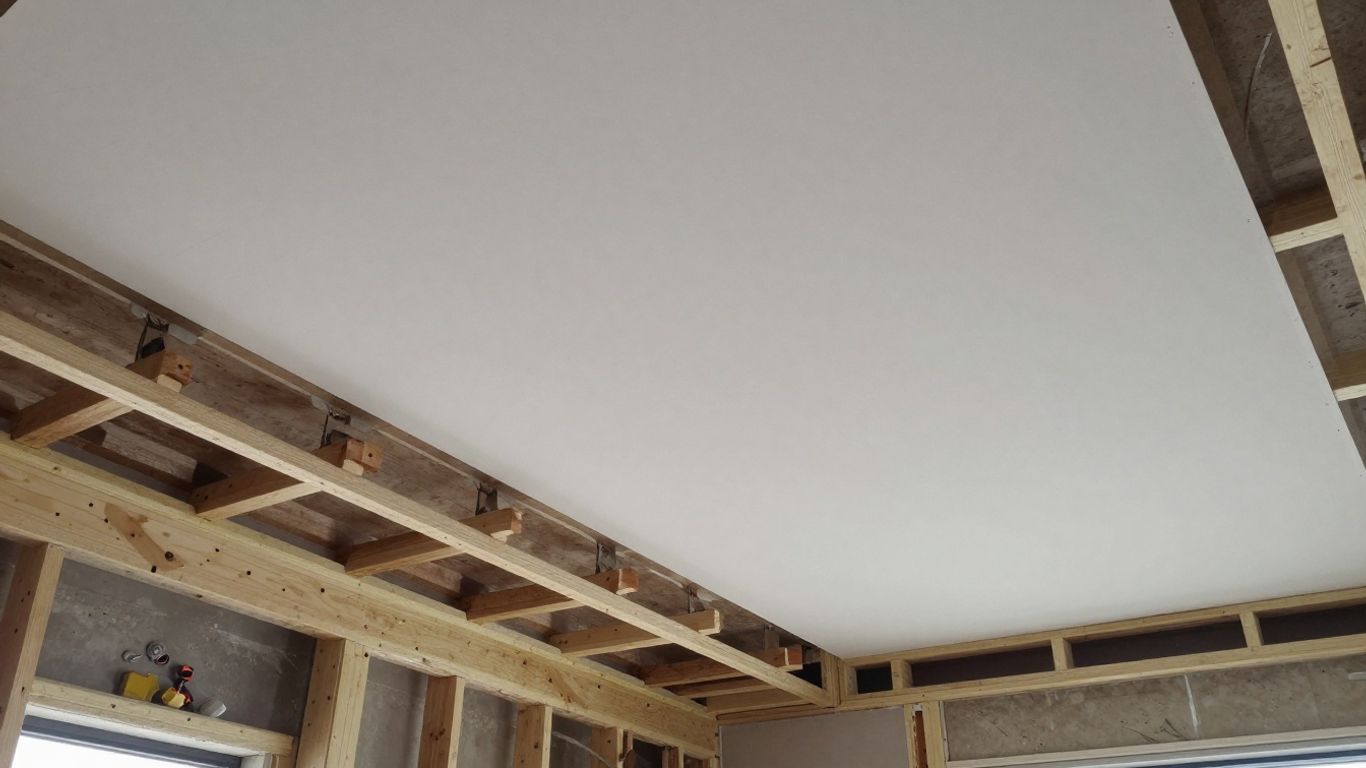
Installing a ceiling isn’t just about putting up panels. The environment where you’re working matters a lot. Ignoring it can lead to problems down the road.
Installing in Unsuitable Humidity Levels
High humidity is a big deal for many ceiling materials. It can cause some materials to warp, swell, or even grow mold. This is especially true for wood-based products. Stretch ceilings, on the other hand, are often made from materials like PVC that handle moisture well. They don’t absorb water like other materials might. This makes them a good choice for places like bathrooms or kitchens where humidity is common. Always check the manufacturer’s recommendations for the specific material you’re using. Some materials need a dry environment to be installed correctly. For example, if you’re working in a place with high humidity, make sure your chosen ceiling material is rated for that. This is really important for long-term durability. In places like Thailand, where humidity is high year-round, choosing the right material is key to avoiding issues like mold growth.
Working in Dusty or Dirty Environments
Dust and dirt are the enemies of a clean ceiling installation. If the area is dusty, particles can get trapped in the ceiling material or behind it. This can affect the look and even the performance of the ceiling. It’s best to install ceilings in spaces that are already sealed and clean. If you’re working in a new construction site, make sure it’s cleaned up before you start. If you have to work in a less-than-ideal environment, take extra steps to protect your materials. Cover them up when you’re not actively working on them. Also, make sure your tools are clean. Dirty tools can transfer grime to the ceiling surface. A clean workspace leads to a cleaner, better-looking final product.
Ignoring Temperature Fluctuations
Temperature changes can affect materials during installation and after. Some materials might become brittle in the cold or too soft in the heat. This can make them harder to work with and more likely to get damaged. If materials have been stored in cold conditions, they often need to warm up before installation. Letting them sit in a warm room for about 24 hours usually does the trick. This helps them become more flexible and less likely to crack. Always follow the manufacturer’s guidelines regarding temperature ranges for both storage and installation. Extreme temperatures can also affect adhesives and fasteners, so it’s important to be aware of the conditions you’re working in.
Overcoming Challenges with Complex Designs
Some ceiling jobs are more involved than others. Think about multi-level designs, special acoustic panels, or custom prints. These aren’t your everyday flat ceilings. They need extra planning and careful work.
Underestimating Multi-Level Installations
Multi-level ceilings add a lot of visual interest. They can create depth and highlight different areas of a room. But they’re tricky to get right. You need to plan how each level will connect and support the next. The framing has to be exact. Any mistake here can make the whole ceiling look off. It’s not just about looks; it’s about structural integrity too. Careful measurement and precise framing are key for multi-level designs.
Mismanaging Integrated Acoustic Panels
Rooms like home theatres or open-plan offices often need acoustic panels. These panels help control sound. Integrating them into a ceiling design can be complex. You have to make sure the panels fit perfectly within the ceiling structure. They need to be placed correctly to do their job. Also, consider how they’ll look. You don’t want them to stick out or look out of place. Proper planning means the acoustics are good and the ceiling looks good.
Failing to Plan for Custom Prints
Custom prints on ceilings can be amazing. Imagine a starry sky in a bedroom or a company logo in an office. But printing on ceiling material needs special care. The material must be right for printing. The printing process itself needs to be done by experts. You also need to think about how the print will look from different angles. Always get a sample print before committing to the whole ceiling. This way, you can see the colours and detail before it’s too late.
Ensuring Proper Finishing and Sealing
The final touches determine how the ceiling looks and how long it lasts. This means making sure all the edges are sealed up tight and any seams or joints are practically invisible. It’s the difference between a ceiling that looks professionally done and one that looks like a DIY job gone wrong.
Incomplete Perimeter Sealing
When the ceiling material meets the walls, there’s a gap. This gap needs to be sealed properly. If it’s not, you can get drafts, dust can get in, and it just looks unfinished. Installers use special tracks and sometimes a sealant to close this space. A good seal keeps the room’s temperature stable and prevents unwanted air from getting into the ceiling space.
Visible Seam or Joint Issues
Some ceiling materials come in large sheets, but sometimes you need to join pieces together. If these joints aren’t handled right, they can show up as lines or uneven spots on the ceiling. This is especially noticeable on glossy finishes. The goal is to make these seams as flat and unnoticeable as possible, often by using specific joining techniques or materials that blend in.
Neglecting Final Inspection Checks
Before calling the job done, a thorough check is a must. This means looking over the whole ceiling for any imperfections. Are there any marks on the material? Are all the edges smooth and sealed? Is the lighting working correctly? Catching these small issues now saves a lot of hassle later. It’s the last step to make sure everything is perfect.
Recognizing the Importance of Professional Expertise
Trying to install a ceiling yourself can seem like a good way to save money. But honestly, it often ends up costing more in the long run. Things can go wrong fast if you don’t know what you’re doing. Getting it right the first time saves headaches and money.
Attempting DIY Without Experience
When you try to install a ceiling without the right skills, you might run into a few problems. You might not have the right tools, or you might not know how to handle the materials properly. This can lead to a messy finish, or worse, damage to the ceiling itself or your existing structure. It’s like trying to fix a car engine without ever having opened the hood, you might mean well, but the results are usually not great.
Hiring Unqualified Installers
Sometimes, people hire installers who seem cheap but don’t have the proper training. This is a big risk. An unqualified installer might cut corners, use the wrong techniques, or not understand how to properly secure the ceiling. This can lead to problems down the road, like sagging, unevenness, or even the ceiling failing. It’s always better to check for certifications and experience before hiring someone.
Skipping Manufacturer Guidelines
Every ceiling material comes with specific instructions from the manufacturer. These guidelines are there for a reason. They tell you the best way to handle the materials, how to install them correctly, and what to avoid. Ignoring these instructions can void warranties and lead to installation failures. Professionals know to follow these guidelines closely. They understand that the manufacturer’s advice is based on testing and experience.
Addressing Maintenance-Related Installation Errors
Sometimes, the way a ceiling is put up can make it hard to take care of later. This can lead to problems down the road. It’s about thinking ahead.
Creating Difficult-to-Access Areas
If you install a ceiling that makes it tough to get to things like light fixtures or ventilation systems, you’re asking for trouble. Imagine needing to change a bulb or fix a vent, but you can’t easily reach it. This often happens when the ceiling is installed too close to existing structures or when access panels aren’t planned properly.
- Plan for access: Always think about what might need maintenance later. Light fixtures, vents, and any access points for plumbing or electrical work should be reachable.
- Use access panels: For areas that might need frequent checks, like above a kitchen or bathroom ceiling, consider installing small, discreet access panels. These can be hidden within the ceiling design.
- Consider fixture type: Some light fixtures are designed for easier replacement than others. Choose fixtures that don’t require dismantling large parts of the ceiling to service.
Using Incompatible Cleaning Materials
Not all ceiling materials can handle the same cleaning products. Using the wrong cleaner can damage the finish, cause discoloration, or even weaken the material itself. This is especially true for printed or textured ceilings.
- Check material specs: Always find out what your ceiling material is made of. Some materials are sensitive to harsh chemicals, abrasives, or even certain types of solvents.
- Mild is usually best: For most modern ceilings, a soft cloth with warm water and a little mild soap is all you need. Avoid bleach, ammonia, or abrasive cleaners.
- Test first: If you’re unsure about a cleaning product, test it on a small, hidden area first. Wait to see if there’s any negative reaction before cleaning the whole ceiling.
Overlooking Long-Term Durability Needs
Installation isn’t just about how the ceiling looks right after it’s up. It’s also about how it holds up over time. Skipping steps or using lower-quality materials during installation can mean the ceiling won’t last as long as it should, or it might start to sag or fail prematurely.
- Quality materials matter: Using good quality framing and fasteners is key. Cheap materials might save money upfront but can lead to costly repairs later.
- Proper tension is vital: For stretch ceilings, getting the tension just right during installation is crucial. If it’s too loose, it can sag. If it’s too tight, it can put stress on the frame.
- Consider the environment: If the ceiling is going in a humid area like a bathroom or kitchen, make sure the materials and installation methods are suited for that environment. This prevents issues like mold or material degradation down the line.
Wrapping Up Your Ceiling Project
Most ceiling installation problems come down to skipped prep work or cut corners, not bad luck. Measure carefully, store materials properly, and bring in a professional for the parts that need real skill, tensioning, wiring, multi-level framing, and most of these mistakes are avoidable.
Frequently Asked Questions
How long does it take to install a stretch ceiling?
Most stretch ceiling installations in homes or offices are finished in just one or two days. This is much faster than building traditional plaster ceilings, which can take over a week.
Can I add lighting to my stretch ceiling?
Yes. Stretch ceilings work well with many types of lighting, such as LED strips, spotlights, and lightboxes. It’s best to plan lighting with your installer before the ceiling goes up.
Are stretch ceilings safe for kitchens and bathrooms?
Yes. Stretch ceilings are made to handle steam and humidity, so they’re a solid choice for kitchens and bathrooms. They won’t warp or grow mold like some other ceiling types.
What should I use to clean my stretch ceiling?
Use a soft microfibre cloth and mild soap with warm water. Don’t use rough sponges or strong chemicals, as they might scratch or damage the surface.
Will a stretch ceiling protect my room if there’s a water leak above?
Yes, if a pipe bursts or there’s a leak, the stretch ceiling can catch and hold water for a short time. Once the problem is fixed, a professional can drain the water and restore the ceiling.
Can stretch ceilings be repaired if they get torn or damaged?
Small holes or tears can sometimes be patched by a professional. If the damage is big, the panel might need to be replaced. Always call an expert for repairs.
Do stretch ceilings need to be repainted or maintained often?
No, stretch ceilings don’t need repainting. They keep their colour and finish for many years. Just dust or clean gently every few months to keep them looking new.
Are stretch ceilings safe and eco-friendly?
Yes, top-quality stretch ceilings are made from materials that are safe, fire-resistant, and often recyclable. They’re tested to meet safety standards and are a good choice for homes and businesses.