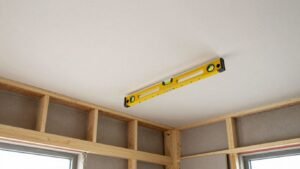
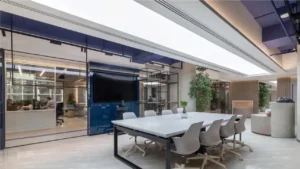
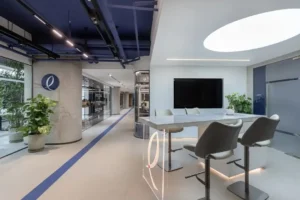
Getting ready for a stretch ceiling installation might seem like a lot, but it really just means making sure your space is prepped so the installers can do their best work. Think of it like getting your kitchen ready before a big cook, you clear the counters, gather your ingredients, and make sure everything’s in place. Doing a little prep beforehand helps everything go smoother and faster, leading to a great finished ceiling. So, let’s look at what you need to do to prepare for stretch ceiling installation.
Assessing and Measuring Your Room
Before you even think about picking out a colour or finish for your new stretch ceiling, it’s super important to get a good handle on the room itself. This isn’t the most exciting part, but trust me, skipping it can lead to headaches later on.
Inspecting Room Dimensions and Layout
First things first, you need to know the exact size of your room. Grab a tape measure and get the length, width, and height. Don’t just eyeball it; precise measurements are key for ordering the right amount of material and for the installers to plan their work. Think about the shape too, is it a simple rectangle, or are there nooks and crannies? This affects how the ceiling will be installed and how much it might cost.
Identifying Potential Obstacles and Fixtures
Look up. What’s already there? You’ve got lights, vents, smoke detectors, maybe even old speakers. You need to know where all these things are. The installers will need to work around them or remove and reinstall them. It’s also good to note if there are any decorative elements like crown molding or ceiling fans that might get in the way. Knowing these details upfront helps avoid surprises during installation.
Checking Wall and Ceiling Conditions
Give your current ceiling and walls a good once-over. Are there any cracks? Is the plaster uneven? Are the walls sturdy? While the stretch ceiling itself covers up a lot, the frame that holds it needs a solid surface to attach to. If there are major issues, like water damage or crumbling plaster, these need to be addressed before the new ceiling goes up. It might mean a bit of extra prep work, but it’s better than having problems down the line.
Clearing and Protecting Furniture
Before you start installing a stretch ceiling, the room needs to be as open as possible. Having enough space means the installation team can work safely and efficiently, and your furniture stays protected from dust or damage.
Removing Furniture for Maximum Accessibility
The best option is to take all the furniture out of the room. If that’s not possible, maybe you have a heavy wardrobe or a built-in bookcase, move smaller items out first, then slide bigger pieces to the center of the room. Most installers need clear access to all the walls and the area under where the new ceiling will go.
Here’s a basic checklist:
- Remove chairs, tables, and small shelves.
- Take down curtains, wall art, and anything hanging near the ceiling.
- If you can’t move larger furniture, shift it to the room’s center.
Depending on the size and weight of your furniture, you may need help. Sometimes, professional movers can help for a fee (usually around 500 to 2,000 THB per room in Bangkok).
Covering Remaining Items to Prevent Dust
Even though stretch ceiling installs are much cleaner than traditional construction, some dust and debris are unavoidable, especially when setting up the frame. Use simple plastic sheeting, old sheets, or commercial dust covers to protect furniture and electronics left in the room.
For key items:
- Cover TVs, computers, and sound systems with waterproof sheets.
- Use tape to secure the covers so they don’t slip off.
- Avoid using heavy blankets for electronics since they may trap heat during the install.
A typical plastic dust sheet costs about 50 to 150 THB and can cover a large sofa or cabinet.
Protecting Floors and Valuables
Floors, especially wood, tile, or carpet, need shielding from possible scuffs or spills. Lay down drop cloths, cardboard, or an old carpet remnant along the path installers will use. Don’t forget to protect entryways if tools or materials need to be carried through common areas.
Tips for floor protection:
- Mop or vacuum floors first so dirt doesn’t get trapped under covers.
- Use painter’s tape to keep sheets from moving out of place.
- If you have fragile items (vases, collectibles), store them in another room.
Quick Table: Furniture Prep Supplies
| Item | Purpose | Typical Price (THB) |
|---|---|---|
| Plastic dust sheet | Covers furniture & electronics | 50 to 150 |
| Drop cloth/cardboard | Floor protection | 80 to 300 |
| Painter’s tape | Secures covers | 30 to 60 |
Cleaning up is much easier if you prep well ahead of time. You’ll thank yourself later for taking the extra time to clear, cover, and protect anything that can’t leave the room. This step doesn’t cost much, but it can save you from headaches and extra cleaning when the job’s done.
Managing Electrical and Lighting Preparations
Pre-Planning Lighting Layouts
Before the stretch ceiling goes up, think about where you want lights. This is the time to decide on the type and placement of all your lighting. It makes a big difference in how the room looks and feels.
- Consider the mood: Do you want bright task lighting, soft ambient light, or something dramatic?
- Map out fixtures: Mark where spotlights, pendant lights, or LED strips will go.
- Think about controls: Plan for switches, dimmers, or smart home integration.
Deactivating and Securing Electrical Circuits
Safety first. Any electrical work happening in the ceiling area needs to be handled carefully. The power to those circuits must be turned off.
- Locate the breaker box: Find the main panel that controls power to your room.
- Identify the correct circuit: Flip the breaker for the area where the ceiling will be installed.
- Verify power is off: Use a voltage tester to double-check that the power is indeed off before any work begins.
Marking Spots for Lighting and Fixtures
Once the lighting plan is set and the power is off, mark exactly where each light or fixture will be installed. This helps the installers place everything correctly.
- Use a level: Make sure your marks are straight.
- Consider spacing: Evenly space lights for consistent illumination.
- Account for wiring: Ensure there’s enough room for wires to connect to the fixtures.
Ensuring Surface and Structure Readiness
Before the new ceiling goes up, it’s smart to check what you’re working with. A good foundation makes for a better final look and fewer headaches down the road.
Repairing Cracks or Uneven Surfaces
Got cracks or bumps on your current ceiling or walls? These need attention. Small cracks might just get covered, but larger ones can show through or even get worse. It’s best to fix them first. You can use a good quality filler for small cracks. For bigger issues, you might need to do some plastering. This step is pretty straightforward and doesn’t usually cost a lot if you’re doing it yourself. If the damage is extensive, you might want to call in a handyman.
Verifying Structural Stability
This is about making sure the existing structure is sound. The new stretch ceiling will be attached to the walls, so the walls need to be strong enough to hold the frame. Give the walls a good look and a gentle push. Are they solid? Do they feel loose or wobbly anywhere? If you have any doubts, especially in older buildings, it’s worth getting a professional opinion. A stable structure is key for a safe and lasting installation.
Inspecting for Leaks or Dampness
Leaks are a big no-no for any ceiling installation. Check carefully for any signs of water damage, stains, or damp patches. This is especially important if you have bathrooms or kitchens above the room. If you find any leaks, they absolutely must be fixed before the stretch ceiling is installed. Water damage can weaken the structure and cause problems later on. Fixing leaks might involve plumbing work or sealing up issues from the floor above. It’s better to deal with this now than have a costly repair after the new ceiling is in place.
Optimizing Ventilation and Climate Control
Proper airflow and climate control are important for a good stretch ceiling installation and for the ceiling’s long-term health. It’s not just about how the ceiling looks when it’s put in, but how it performs over time.
Maintaining Proper Airflow During Installation
During installation, the crew will use special tools that heat the ceiling material. This process needs some air movement, but not too much. Too much draft can make the material cool down unevenly. Too little can make it hard to work with. The installers usually manage this by controlling windows and doors. They know how much airflow is needed for the job.
Dehumidifying for Tropical Climates
If you live in a place with high humidity, like Bangkok, it’s a good idea to manage moisture levels. Stretch ceilings themselves are good with humidity, they don’t warp or get moldy easily. However, extreme moisture can still cause issues over time, especially if it leads to condensation. Using a dehumidifier before and during installation can help create a stable environment. This is more about protecting the room and the installation process than the ceiling itself.
Assessing AC and Heating Outlet Placement
Think about where your air conditioning vents and heating outlets are. The stretch ceiling material can handle normal temperatures, but direct, constant blasts of very hot or cold air right on one spot might not be ideal. It’s best to have these outlets positioned so the air circulates around the room rather than hitting the ceiling directly. This helps keep the temperature even and prevents stress on any one part of the ceiling material. Discuss this with your installer to make sure the placement works well with the new ceiling.
Handling Built-In Installations and Obstacles
When planning for a stretch ceiling, you have to deal with things that are already part of your room. These built-in installations and obstacles need some thought before the work begins. Ignoring them can lead to trouble or extra costs later on.
Marking Out Curtain Tracks and Rails
Take a close look at your windows. If you have curtains or plan to hang new ones, mark exactly where those tracks or rails go. Some stretch ceilings are installed only a few centimetres below the original ceiling, so any interruption can be a problem. Most companies recommend:
- Measuring and marking curtain track locations before the ceiling goes in
- Telling your installer about plans for any built-in blinds or rails
- Choosing ceiling-mounted or wall-mounted tracks based on your space
Planning Around Air Conditioning Units
Check the placement of wall or ceiling AC units. These often need special mounts above the stretch ceiling, or cut-outs in the sheet for vents. If you’re moving or adding AC later, do it before the ceiling goes in. Here’s a quick look at what you might expect:
| Task | Installer Job | Possible Added Cost (THB)* |
|---|---|---|
| Create vent cut-out | Yes | 500 to 1,500 |
| Reinforce for new AC mount | Yes | 1,000 to 2,500 |
| Relocate or remove unit first | Client | (From AC technician) |
*Costs can differ by region and installer. Always get a quote first.
Making Space for Sprinklers or Smoke Detectors
Safety features like sprinklers and smoke detectors need open access and the right alignment. Tell your installer where these items are and if you plan to move them. There are a few key things to keep in mind:
- Mark the exact spots where detectors or sprinklers will go
- Check with building codes in your region
- Ask for the right mounting plates or supports
Steps for Handling Obstacles
- Walk through your room with a plan or diagram.
- Mark all existing or planned built-in fixtures.
- Take photos from different angles as a backup.
- Show all marks and notes to your ceiling installer before work starts.
Small details like the location of a track or air-con vent can make a big difference. Spend time checking now and talk openly with your installer. It saves you money and headaches later.
Preparing for Customisation Features
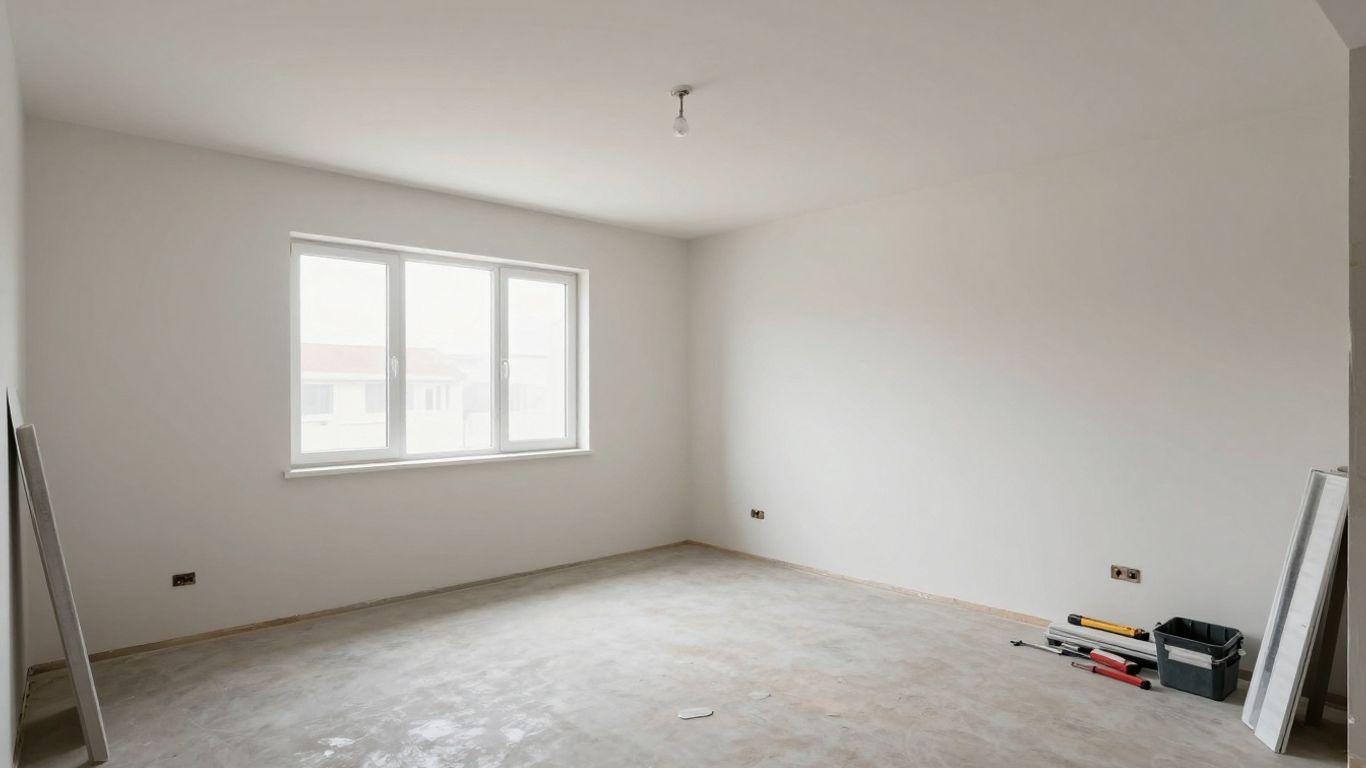
Stretch ceilings aren’t just about a flat, white surface anymore. You can really make them your own. Think about what you want the room to feel like and how you’ll use it. This is where you decide on the details that make your ceiling unique.
Deciding on Acoustic or Insulated Options
If your room has echo problems or you want to control noise, acoustic membranes are a good choice. They absorb sound, making spaces like home theatres or offices more comfortable. They work by using special materials that soak up sound waves instead of letting them bounce around. This can make a big difference in how a room feels and sounds. The cost is usually a bit more than a standard ceiling, but for places where sound matters, it’s often worth it.
Choosing Printed or Textured Finish Types
Want something more than just a plain color? You can get stretch ceilings printed with almost any image or pattern. This is great for adding personality to a bedroom, a unique look to a restaurant, or even your company logo in an office. There are also textured finishes that add a bit of depth and visual interest. The printing is done with special inks that are made to last and not fade. Textured finishes can mimic materials like wood or stone, but they are made from the stretch ceiling material itself.
Coordinating with Designers for Branding Elements
For businesses, the ceiling can be part of your brand identity. You can work with designers to incorporate logos, brand colours, or specific patterns into the ceiling design. This could be a subtle logo printed on a section of the ceiling or a more elaborate design that reflects your company’s style. It’s a way to make your space more memorable and professional. Discussing these ideas early with your designer and the ceiling installer is key to getting it right.
Coordinating Project Logistics with Installers
Getting the stretch ceiling installed smoothly means talking with the installation team beforehand. It’s all about making sure everyone knows what to expect and when.
Scheduling Access for the Installation Team
This is the first big step. You need to agree on a date and time that works for both you and the installers. Most stretch ceiling jobs are pretty quick, often taking just one to two days for a standard room. However, larger or more complex projects might take a bit longer. Always ask the company how long they estimate for your specific job.
- Confirm the start date and time.
- Ask about the estimated completion time.
- Discuss any potential delays and how they’ll be communicated.
Providing Access to Power and Facilities
The installation crew will need access to electricity to power their tools and heating equipment. They might also need access to a restroom. Make sure these are readily available and that the path to the work area is clear.
- Ensure power outlets are accessible near the installation area.
- Confirm if they need access to a water source.
- Designate a space for their tools and materials if possible.
Discussing Timeline and Disruption Minimization
Talk about the schedule and how the work might affect your daily routine. Installers aim to be quick and clean, but it’s good to be prepared. Knowing the timeline helps you plan around the work, whether it’s for a home or a business.
| Task | Estimated Time | Disruption Level | Notes |
|---|---|---|---|
| Frame Installation | 2-4 hours | Low | Minimal noise, dust is contained. |
| Membrane Heating & Clip-in | 1-3 hours | Medium | Requires heat, temporary strong smell. |
| Final Touches & Cleanup | 1-2 hours | Low | Final checks, site tidying. |
Clear communication about the timeline helps manage expectations and minimise any inconvenience. This preparation makes the whole process much easier for everyone involved.
Accommodating Safety and Compliance Requirements
Stretch ceilings are popular for their quick installation and clean look. But before your project starts, you need to handle safety checks and make sure the installation meets all needed rules. Here’s what you need to look at:
Ensuring Fire Safety and Emergency Exits
Stretch ceiling materials are often rated as fire-resistant, but always confirm your supplier’s certification. In buildings where safety is a big deal, like hotels and offices, inspect these points:
- The ceiling fabric should have proof of meeting local or international fire safety standards
- Keep emergency exit paths clear during installation. Don’t let any frame or membrane block exit signs or doors
- If fire alarms, sprinklers, or detectors are in the original ceiling, mark them before installation
Keep a fire extinguisher handy on installation day. For more about the process, check how professionals work on clean and safe installations in Bangkok.
Verifying Compliance with Local Regulations
Each city or region may have slightly different rules for construction and renovation. Here’s how to be prepared:
- Ask your installer if they file all permits and follow building codes
- If you’re in a managed building, get written approval from management or your condo association
- Save product data sheets and certificates, these may be needed for city inspections or insurance claims
Below is a table summarizing common compliance documents to request:
| Compliance Document | Who Provides | Purpose |
|---|---|---|
| Fire-resistance certificate | Manufacturer | Confirms fire safety |
| Installation warranty & insurance | Installer | Proof of quality/safety |
| Local permit/building approval | Installer/Owner | Legally required to start |
Preparing Spaces for Warranty Inspections
Most reputable installers offer warranties, but the warranty stays valid only if the work holds up to inspection.
- Keep the ceiling area clean and free from unauthorized changes
- Archive receipts, quotes, and certificates in a single folder
- If the installer offers free aftercare inspections, schedule these as soon as the job is done
Warranty periods for stretch ceilings often run 5 to 10 years, depending on the provider. If an issue comes up, having all documents ready will speed up any repair or claim process. Stay organised and your ceiling will last for years without hassle.
Organizing Tools and Cleaning Supplies
Stocking Gentle Cleaning Materials for Maintenance
Stretch ceilings are pretty low-maintenance. You won’t need to repaint them, and they don’t usually get moldy or absorb odors. But, like anything, they can get a bit dusty or pick up light marks over time. For regular cleaning, stick to soft microfibre cloths. A mild soap mixed with warm water is usually enough for most spots. Avoid anything harsh like bleach, alcohol, or abrasive cleaners, those can damage the finish. If you have a high ceiling, an extendable duster or a mop with a soft pad can make the job easier. It’s good to have these supplies on hand for when you need to do a quick wipe-down.
Keeping the Workspace Clear and Tidy
Before the installers even show up, it’s a good idea to clear out as much as you can. This isn’t just about making space for them to work; it’s also about protecting your stuff. If you can move furniture out of the room, do it. If not, make sure everything is covered well. This helps keep dust from the installation process off your belongings. A tidy workspace also helps the installation team work more efficiently and safely. Think about where they’ll need to set up their tools and equipment, and try to keep that area clear.
Planning for Post-Installation Cleanup
Even though stretch ceiling installation is much cleaner than traditional methods (no big dust clouds from drywall!), there’s still a little bit of cleanup involved. The installers will do their part, but you’ll want to do a final sweep yourself. Have your vacuum cleaner ready, along with some of those gentle cleaning supplies we talked about. A quick wipe-down of the new ceiling and the surrounding areas will make everything look fresh and finished. It’s also a good time to check for any smudges or marks left behind and clean them up right away.
Informing Residents and Neighbors
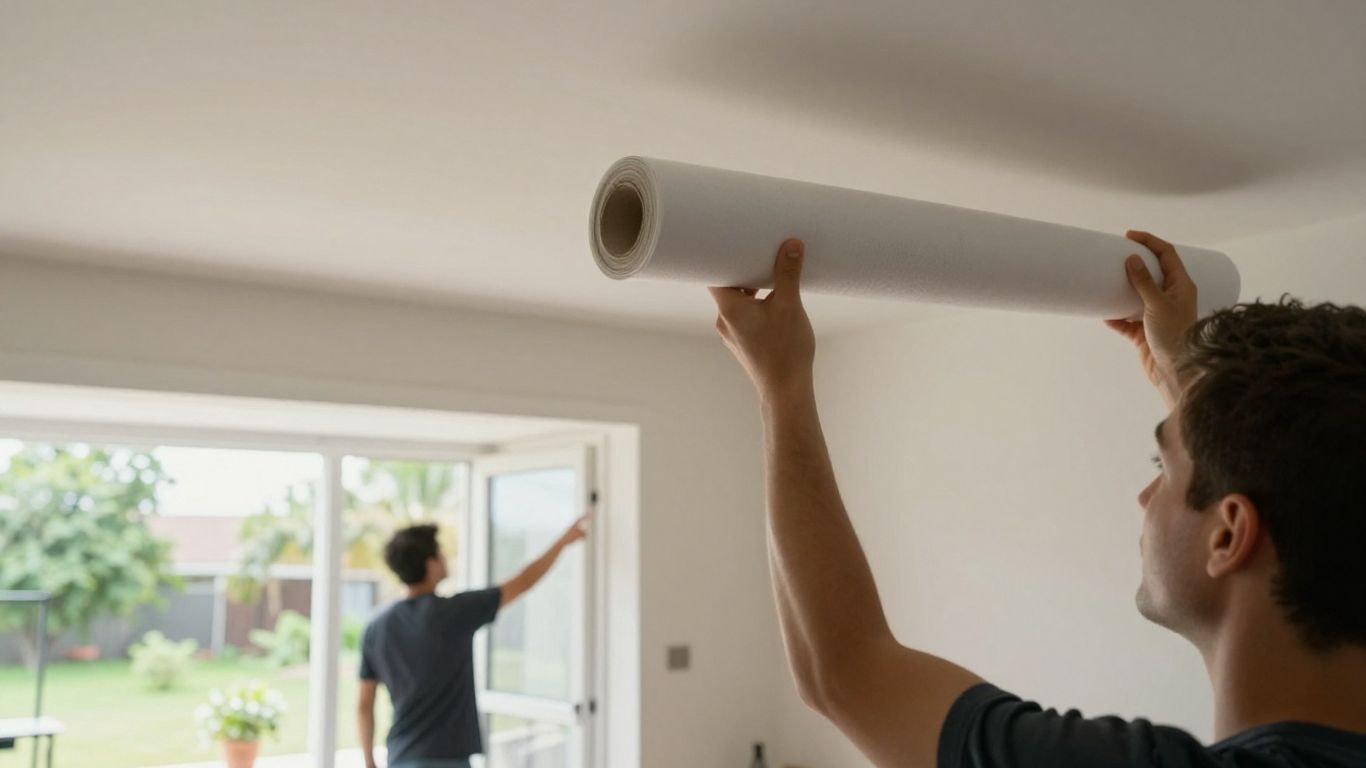
Before the installation crew shows up, it’s a good idea to let people know what’s happening. This includes anyone living in your building or even close neighbors.
Notifying Building Management or Neighbors
If you live in an apartment building or a condo, tell your building manager or HOA about the upcoming work. They might have specific rules or times when installations can happen. For houses, a quick heads-up to immediate neighbors is polite. It lets them know there might be some extra activity or noise for a day or two. A little communication goes a long way in keeping good relations.
Communicating Installation Day Expectations
When you talk to your neighbors or building management, give them a general idea of what to expect. Mention the approximate start and end times for the installation day. Let them know if there will be any temporary noise or if workers will be coming and going. This helps avoid surprises and potential complaints.
Arranging Temporary Relocation for Sensitive Areas
Think about any areas in your home that might be particularly sensitive to noise or dust, even though stretch ceiling installation is pretty clean. If you have a home office, a nursery, or a pet that gets stressed by new people, consider moving them to a different part of the house for the day. This makes things more comfortable for everyone involved.
Wrapping Up Your Stretch Ceiling Prep
Preparing your space takes some time, but it pays off. Clearing the room, protecting your belongings, and making sure installers have clear access means the job goes faster and the finish comes out better. A little planning now means fewer surprises on installation day.
Frequently Asked Questions
How long does it take to install a stretch ceiling?
Most rooms can be finished in just one to two days. Bigger projects might take a little longer, but it’s usually much faster than traditional ceiling work.
Is the installation process messy?
Unlike old-fashioned plaster ceilings that create lots of dust and require painting, stretch ceiling installation is very clean and neat.
Can I add lights or other fixtures to my stretch ceiling?
Yes. You can add lights like LEDs, spotlights, or even cool lightboxes. We plan the wiring before the ceiling goes up.
Will installing a stretch ceiling damage my existing ceiling?
No, it won’t. The new ceiling system is put up on a frame attached to the walls, so your old ceiling stays untouched.
Are stretch ceilings safe to have installed?
Yes, they are. The materials used are fire-resistant and meet safety standards, making them a safe choice for any space.
Can stretch ceilings be used in places like kitchens or bathrooms?
Yes. They work well in kitchens and bathrooms because they don’t get damaged by moisture or steam.
Do stretch ceilings need a lot of special cleaning?
No. A soft cloth with mild soap and water is usually all you need.
How long do stretch ceilings usually last?
With normal care, a stretch ceiling can look great for 10 to 15 years, and sometimes longer.